Windows Screening Supplies
 I love planting unusual tropical plants inside glass containers to create small, fascinating worlds. They invite you in for a closer look and provide a perfect escape from the wintry weather outside. Terrariums are easy to care for and don't require any special skills for success.
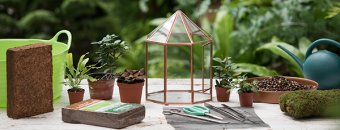
You can shop for your own components, as described in the step-by-step guide, below
When choosing a container, class="lead-in"> remember that closed containers hold more humidity and create a jungle-like atmosphere. Open containers are ideal for cactus and succulent gardens, as well as other plants that prefer less humidity. Clear, smooth glass offers the best view of the plants. In this project, I'm using the Gazebo Tabletop Terrarium
To make positioning the plants easier, it helps to have a pair of long tweezers (used for aquarium plants) or a set of kitchen tongs.
When choosing plants, class="lead-in"> select varieties that will thrive where you plan to display your terrarium. How much light will the plants will receive? South- and west-facing windows provide strong, bright light. East windows are medium. Fluorescent office lighting and north-facing windows provide low to medium light.
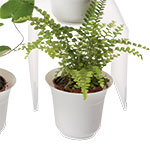 After light requirements, I consider the suitability of plants for life in a container. Ideally, the plants will grow slowly or remain small. I look for a mix of textures, colors and growing habits. Be sure to choose pest-free plants; even snails and slugs can wreak havoc in a terrarium.
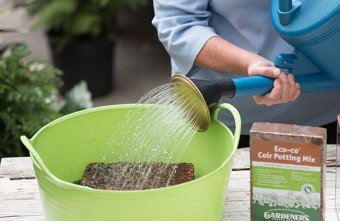
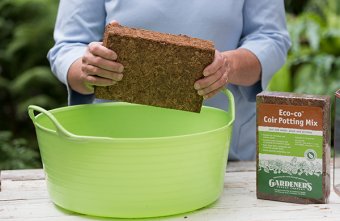
The first step in assembling the terrariumclass="lead-in"> is to soak the planting medium. I use Coir Bricks, which are made from coconut husk fiber. Coir has a loose, airy texture and it holds water without getting soggy. Its neutral pH, natural color and resistance to decay make it ideal for a closed environment.
Soak the coir brickclass="lead-in"> in a bucket with plenty of warm water for about 30 minutes and break it up with a trowel as it expands.
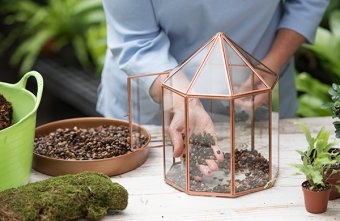
To ensure good drainage, I add an inch or two of gravelclass="lead-in"> to the bottom of the container. Avoid shells, limestone and other materials that might change the pH of the soil. By making a well in the center, I create more space for soil (and plant roots).
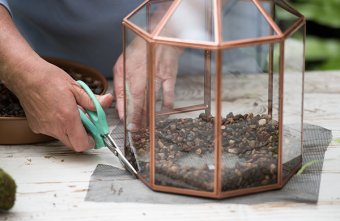
 Cut a piece of fiberglass window screenclass="lead-in"> to completely cover the gravel. It keeps the soil from falling into the gravel. I use fiberglass because it doesn't rust. Trim for a tight fit so you don't have exposed screen after the soil is added.
Position the screenclass="lead-in"> so it covers the gravel.
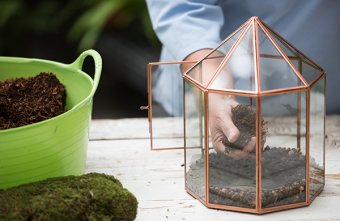
Next, put moistened coir into the containerclass="lead-in">, on top of the screen. Add at least 2″, and even 3″ if the container is deep enough. I like to step back and make sure that the proportion of soil within the container is pleasing; usually, the deeper the container, the better it looks with more soil. If I plan to view the terrarium from one side, I may slope the soil so that it's deeper at the back to make the landscape more interesting.
Before setting plants into the terrarium, class="lead-in"> move them around on the tabletop to decide on the best combination and arrangement.
Starting with the largest plant, gently remove as much of the soil and white perlite as you can from the root mass. Trim overly long roots to help fit them into the container.
I like to place the tallest plant toward the backclass="lead-in"> or off-center to create an asymmetrical design.
Some pots may have more than one plant in them.class="lead-in"> You can divide these and place the smaller plants around the terrarium to create unity or rhythm in your design.
Before using, rehydrate the sheet mossclass="lead-in"> by dipping it in a bowl of water. Break it into smaller bits and tuck it into pockets throughout the terrarium.
Use tongs to position moss and plants.class="lead-in"> Mine are made for aquarium planting, but you can also use kitchen tongs.