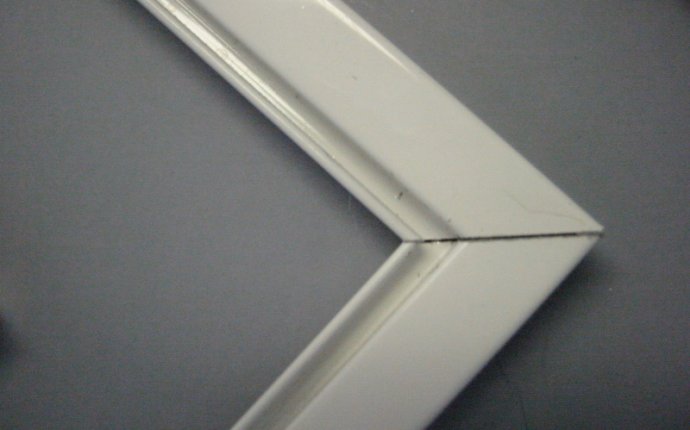
Replace Windows Screen Frame
A torn screen can be a pain, especially because it can let bugs, debris, and dirt that would otherwise be kept out into your home. However, there’s no need to purchase an entirely new screen and frame because the screen netting itself can simply be replaced. Replacing a small patch in a screen takes almost as much time as replacing the entire thing, and with just a few tools and some new screening, the old screen can be removed from the frame and a new one can be put in. Then you can simply replace the screen in the window or door, where it will appear perfect and new.
Step 1 - Remove the Screen
Gently take the screen out of the door or window frame and lay it on a flat surface, such as a large table or the floor. Tape each edge down so the frame holding the screen doesn’t move while you work. Be sure to only put tape on the outer edge of the frame so you can remove the spline (the rubber gasket that holds the screen in place) and the screen netting along the inner edge.
Step 2 - Remove the Spline
Use a screwdriver to help release the plastic, rubbery spline that holds the screen in the metal frame. Once you’re able to grab an edge of the spline from one of the corners, you should be able to gently pull the spline out of each side of the screen frame, using the screwdriver to pry it away from any difficult areas. Use the screwdriver in the corners as needed to help you pull the spline out. Remove all of the spline along the inside of the frame.
Step 3 - Take the Screen Out
At this point, you should be able to use the screwdriver to pry one corner of the screen netting out and grasp onto it tightly. Give it a tug, and pull along the edges of the screen where it meets the frame—the screen netting should come out rather easily. Follow along all four edges to remove the entire screen netting.
Step 4 - Install the new Screen
Lay the new screen over the metal frame evenly. Trim it with scissors about 6 to 12 inches longer than the outer edge of the screen, just to be safe. Next, complete the process you just did, but backwards. Make sure the screen is flat and even before you move on. There should be no kinks or folds. Use that same flathead screwdriver to tuck the screen into the screen frame right along one of the corners. Do this with the extra screen netting poking out over the edge—we’ll trim it later. It’s more important that the screen is installed flat and evenly. Only start with that one corner, as the spline will help hold it tightly in place in the next step.
Step 5 - Replace the Spline
Now that you have the screen in place in one corner, grab your screen spline tool and start at that corner where you first installed the screen. Put the new spline in place on top of the screen, and begin to roll and push the spline into place in the screen frame. Follow the edge of the screen with the tool, inserting the spline and ensuring the screen is even. Go all the way around the inside of the frame until you reach the same corner you started at. Trim the spline and tuck it inside that last corner of the frame with the screwdriver.
Step 6 - Trim the new Screen Netting
Take the box cutter or utility knife and cut the screen netting along the edge of the frame, just on the outside edge of the plastic spline you just installed. Be sure to cut on the outer edge and not the inner. This will trim away that excess edge of the screen, but the spline will hold the screen in place.


