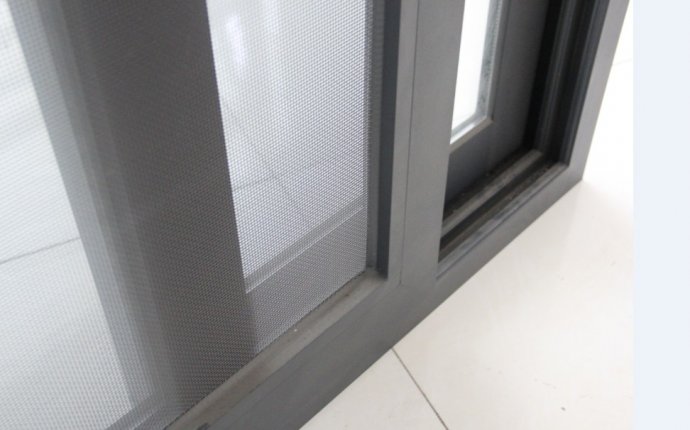
Sliding Windows Screen Inserts
 It is often easier to remove damaged screens from inside, rather than outside.
Sliding window screens are usually made of durable fiberglass and don’t require frequent repairs. However, tears in the screen can happen now and then, particularly if you have kids or pets. Sliding windows may have one or two screens, but removal and replacement of the screens is usually a straightforward task. Replacing the damaged screens is also a simple task that you can do yourself.
Grab the screen at the bottom left corner, and lift up. This compresses the spring clips at the top. As you lift up, push out simultaneously. If there are two screens in the window, begin with the left screen and then slide the right screen to the left and remove it the same way.
Lay the screen on a flat work surface. Insert a flathead screwdriver at the top left corner, beneath the edge of the spline. The spline is the rubberlike strip that is installed in a channel along the perimeter of the frame.
Pry the spline up until you can grab it, and then pull it out of the channel. Remove the screen and wipe around the frame and in the spline channel using a damp cloth.
Roll out the new screen and lay it over the frame. Cut the screen so that it is at least 2 inches longer than the frame on all sides.
Make a small split at the center of each corner of the screen using scissors, but do not cut past where the screen fits into the channel. Cutting each corner at a 45-degree angle allows the pieces to overlap when you press them in place, creating a clean corner.
Lay the screen over the frame so that all sides extend past the edge of the frame an equal distance.
Begin at one corner, and place the spline over the screen and press it into the channel along the frame with your thumb.
Roll the spline into the channel across the top of the screen using the round end of a spline roller. Hold the screen taut as you roll the spline to avoid wrinkles or bumps.
Go over the spline one more time using the grooved end of the spline roller. Trim the excess spline using scissors or a utility knife.
Make sure the screen is taut, and that it still overlaps each side of the frame. If there are bumps or ripples along the splined edge, or the screen does not overlap all edges, pull out the spline and begin again.
Pull the screen taut and insert the spline in the channel opposite the first one. Press it into one corner with your thumb and repeat rolling it into place with the spline roller.
Continue pressing and rolling along the other two sides until all sides have been secured with spline. Trim the excess screen along the outer edge of the spline using a utility knife.
Press the top of the repaired screen squarely into the window track to compress the spring clips and push the bottom firmly into place so that it is flush with the track. If your window has two screens, reinstall the first screen on the left side and slide it along the track to the right side, then replace the second screen.
Things You Will Need
- Cloth
- Water
- Measuring tape
- Screen
- Spline
- Spline roller
- Utility knife
- Scissors


